

Dried Arrangement Hack

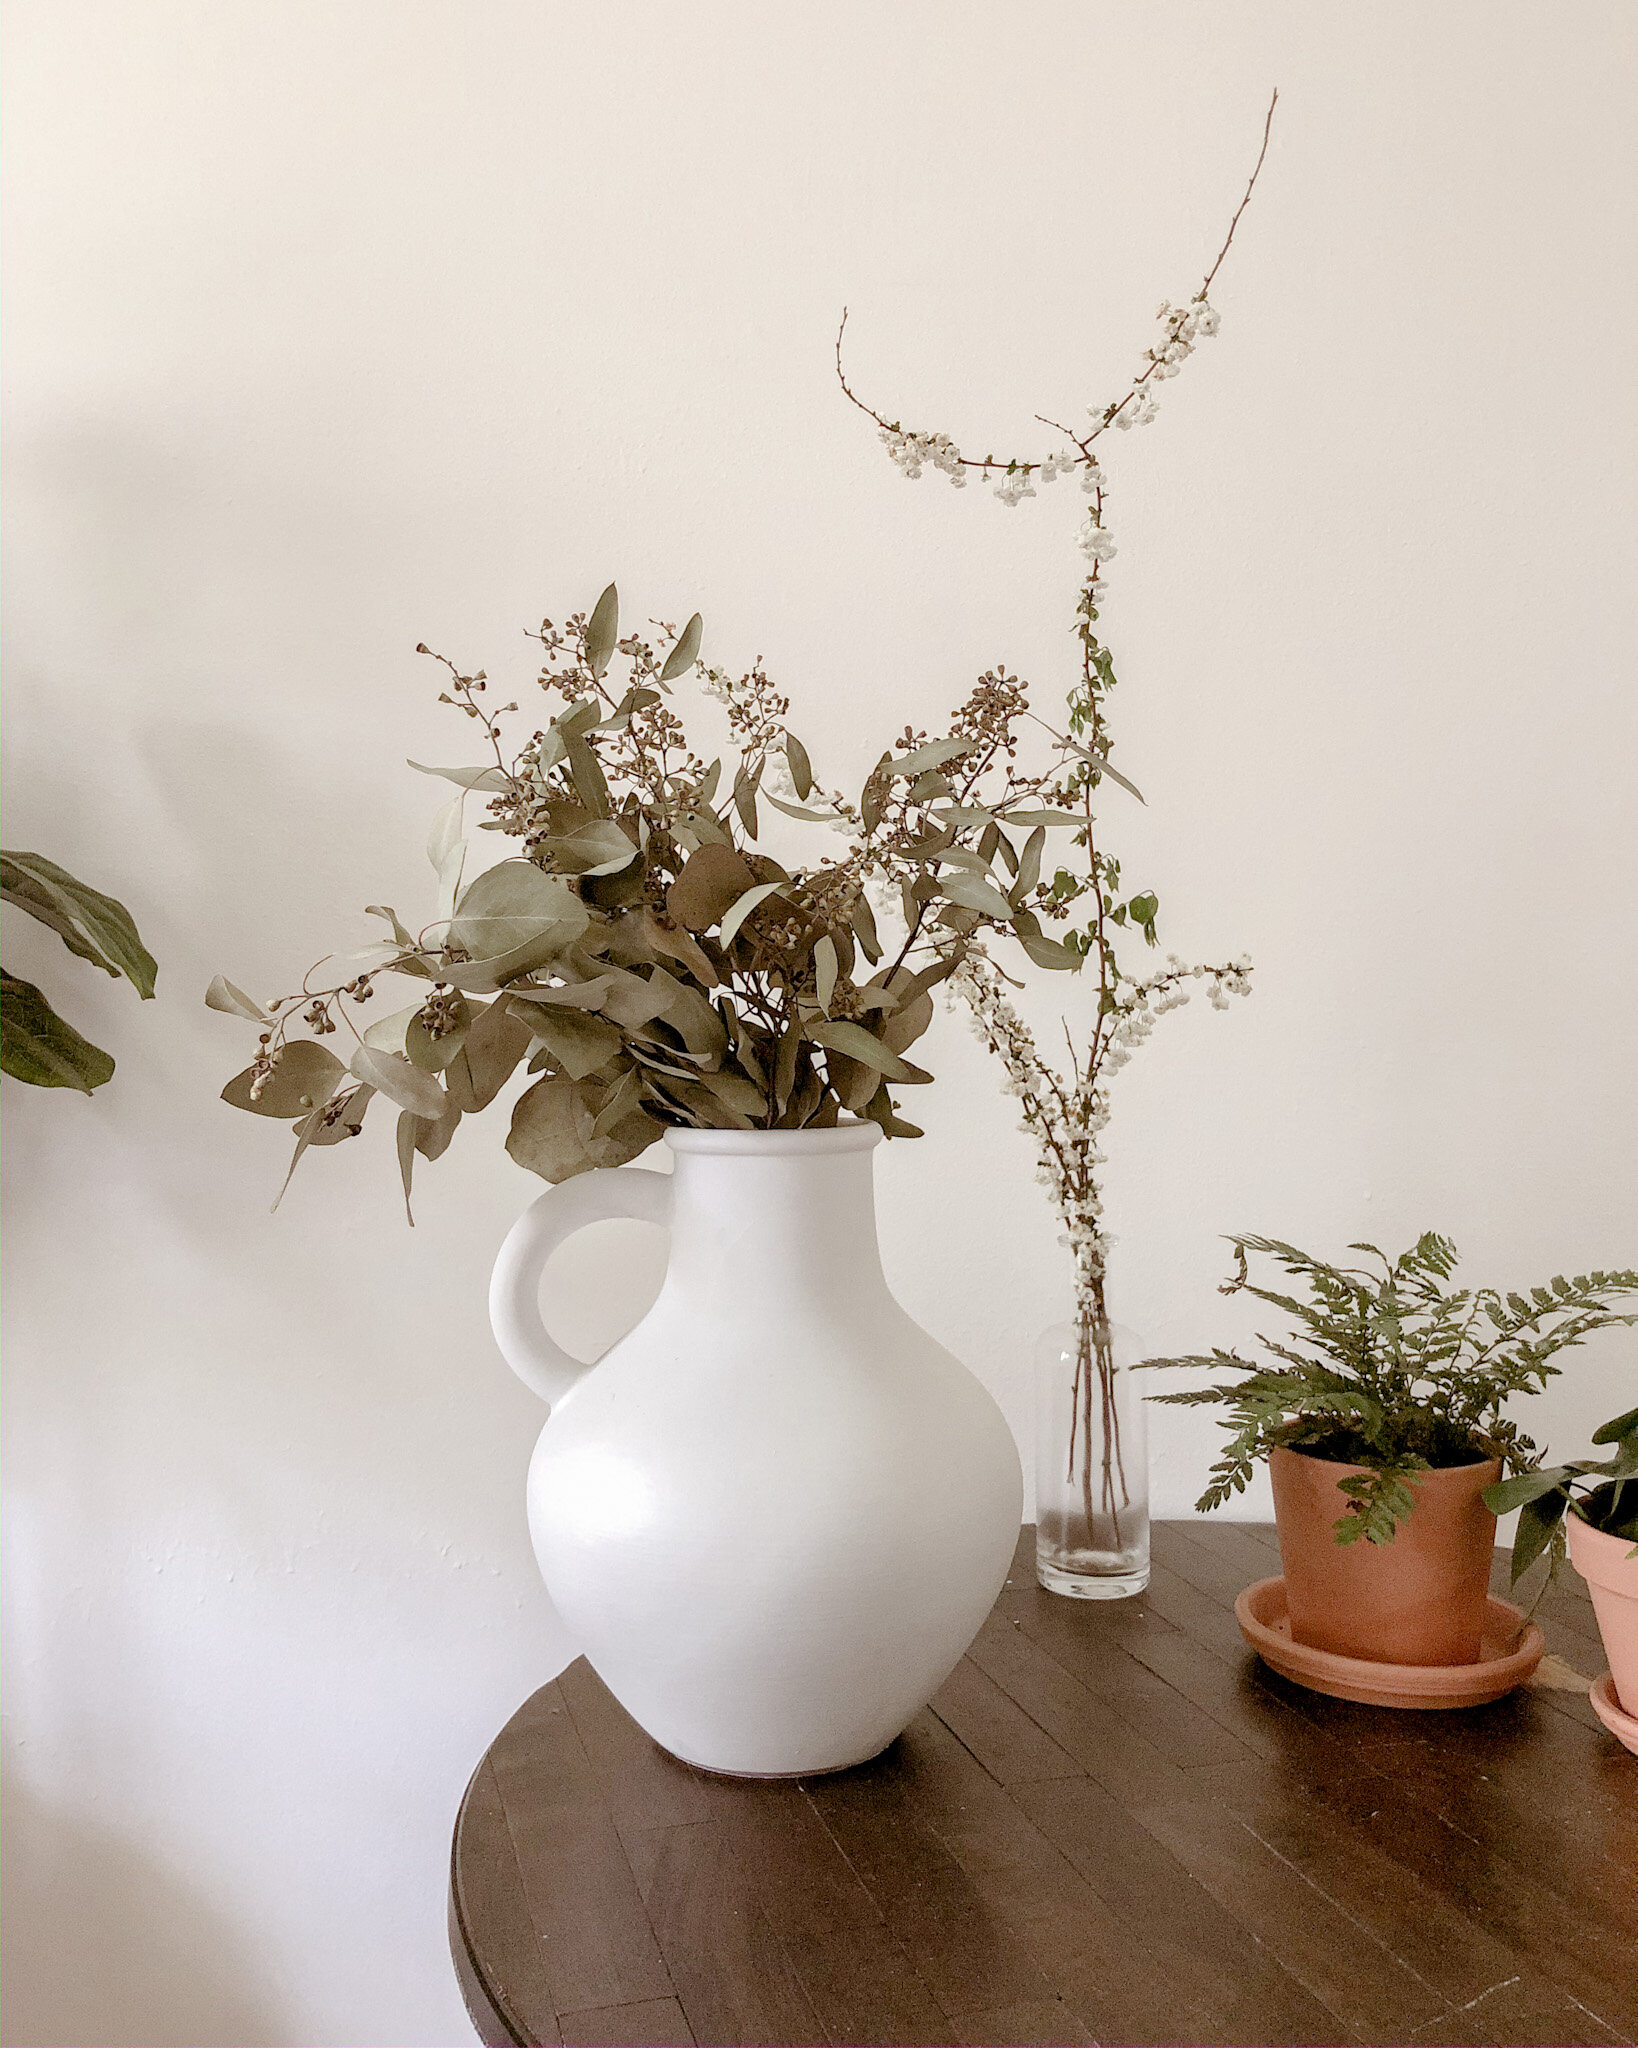
I’ve been getting so many messages asking me where I get my favorite flower: Pampas Grass and other dried flowers from! I am beyond thrilled to finally share my little secret and DIY on how I’m able to keep these beauties throughout my home, and how they last no matter the season.
1. Find A Place Where flowers grow
With permission - I like to visit my normal spots for flowers. I utilize my backyard, neighborhood (with my neighbors permission), and some businesses let me cut from their properties.
Luckily, pampas grass and similar flowers are a normal thing in my neighborhood and city - they’re everywhere!

2.BRING HEAVY DUTY SCISSORS TO SNIP STEMS
Make sure to bring heavy duty scissors with you.
Scan the area for your favorite looking stems / flowers. You’ll want to avoid any that appear covered in insects or show any signs of disease, as they are not good candidates for drying.
When cutting your stems, you’ll want to clip a nice long stem. This will give you room to play around with the length of each stem as you’re arranging them in your vas later on.

3. ARRANGE & Use Hairspray
Once you’ve got your stems home, arrange them in the way you’d like them displayed (be sure to use this time to cut the stems to a length you like). This means you’ll line your stems up and get them vas-ready.
Once you’ve got them arranged in a pretty way, with a light coating of hair-spray, spray the bundle. The hairspray acts as a flower preservative. Any hairspray will do, just make sure to apply a light coat. Spray the front first (but leave about two inches at the bottom of the stem for you to grab them and pick them up).
Flip them over after you’ve sprayed the front side of the arrangement, and then lightly spray the back side.
Hang them them with string and leave them to dry upside-down for an hour.

There you have it! That’s my dried arrangement hack! But before I go, I wanted to share with those who don’t have access to flowers in their backyard or neighborhood… No worries if this is the case for you. You can still purchase your pampas grass here!

Pot Painting Hack
I’ve been on the hunt for a few ceramic pots for some time now, and have luckily found some beauties! However, I’ve been wanting to purchase 3-5 larger sized pots all at once, so I needed to find them at the right price - because pots don’t grow on trees right?
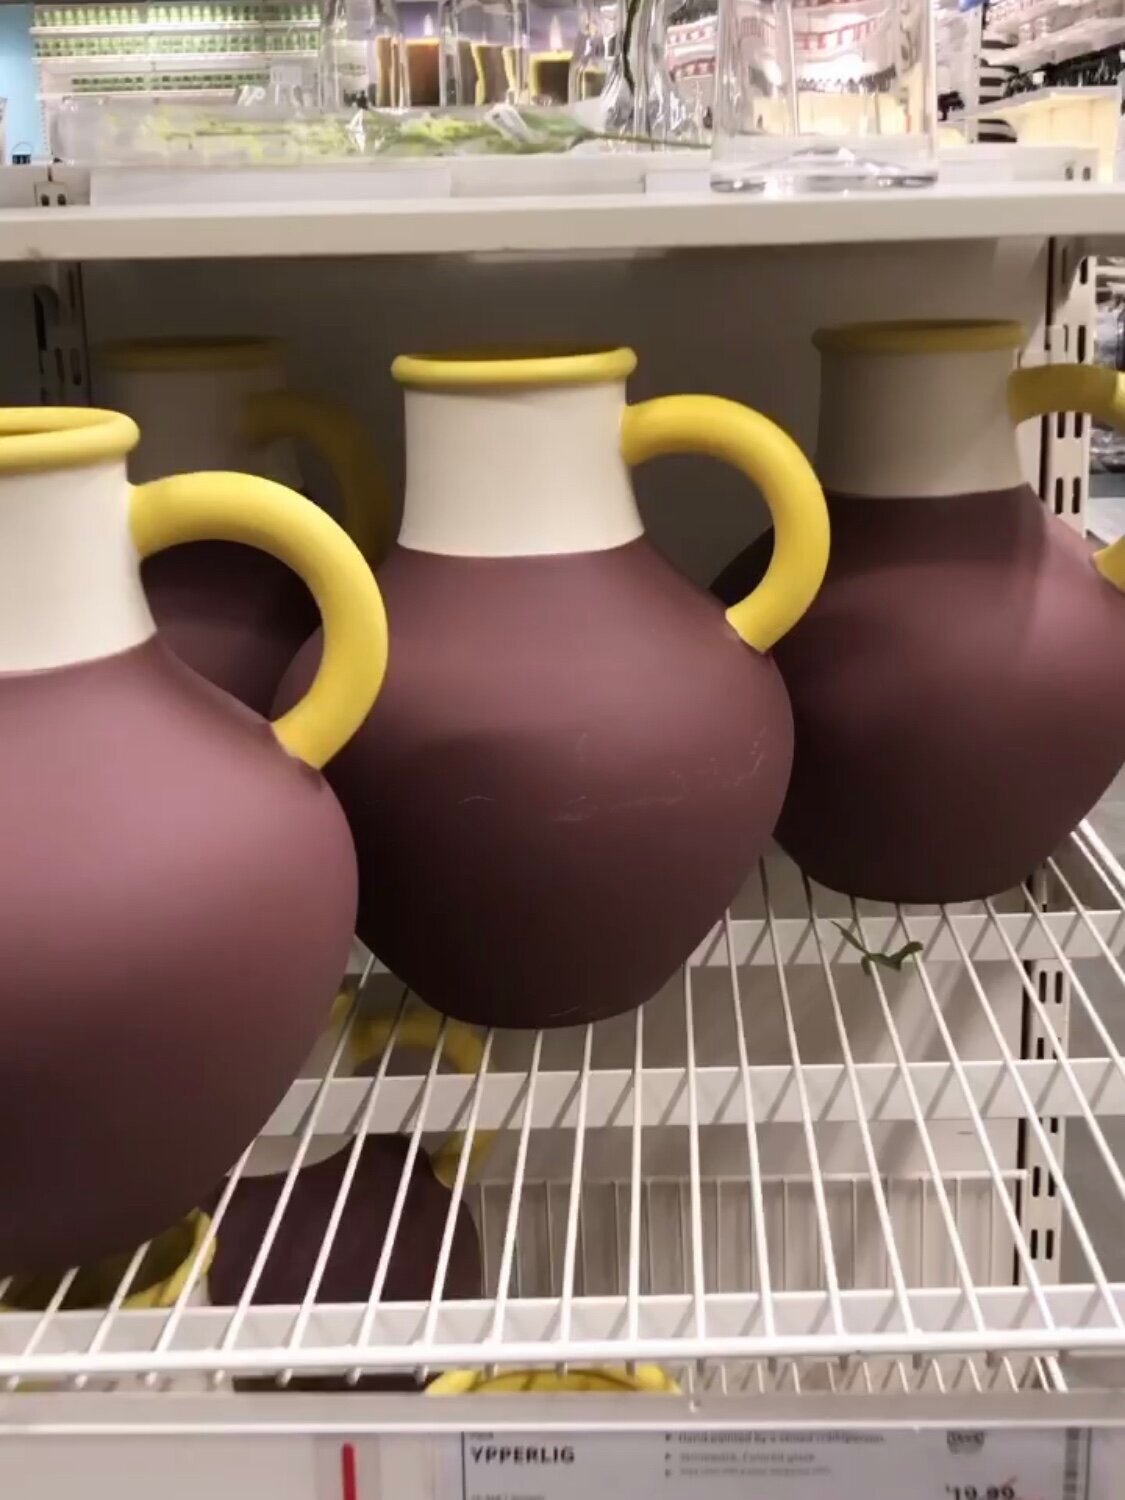
I was able to find larger-sized pots that were great quality at IKEA. Nevertheless, the color of the pots weren’t very desirable, unless you’re a Laker fan that is (click arrow for the “before” photo of pots). Because there aren’t a lot of Laker fans living here in Atlanta, I’m assuming these Ypperlig pots didn’t do so great in sales, and therefore were marked down to $8.99 from their original price of $20.00 per pot.
Long story short, I purchased three! took them home, sprayed them with Rustoleum, and voila! A very quick DIY that’ll give you an upscale artisanal look in your home. I used a white Rust-Oleom Chalked Paint Aerosol and a Rust-Oleom Auto Paint Matte Finish Spray for my black pot . There you have it, my pot-paining secret!
If you try this DIY, drop a comment below and let us know how it turned out for you!
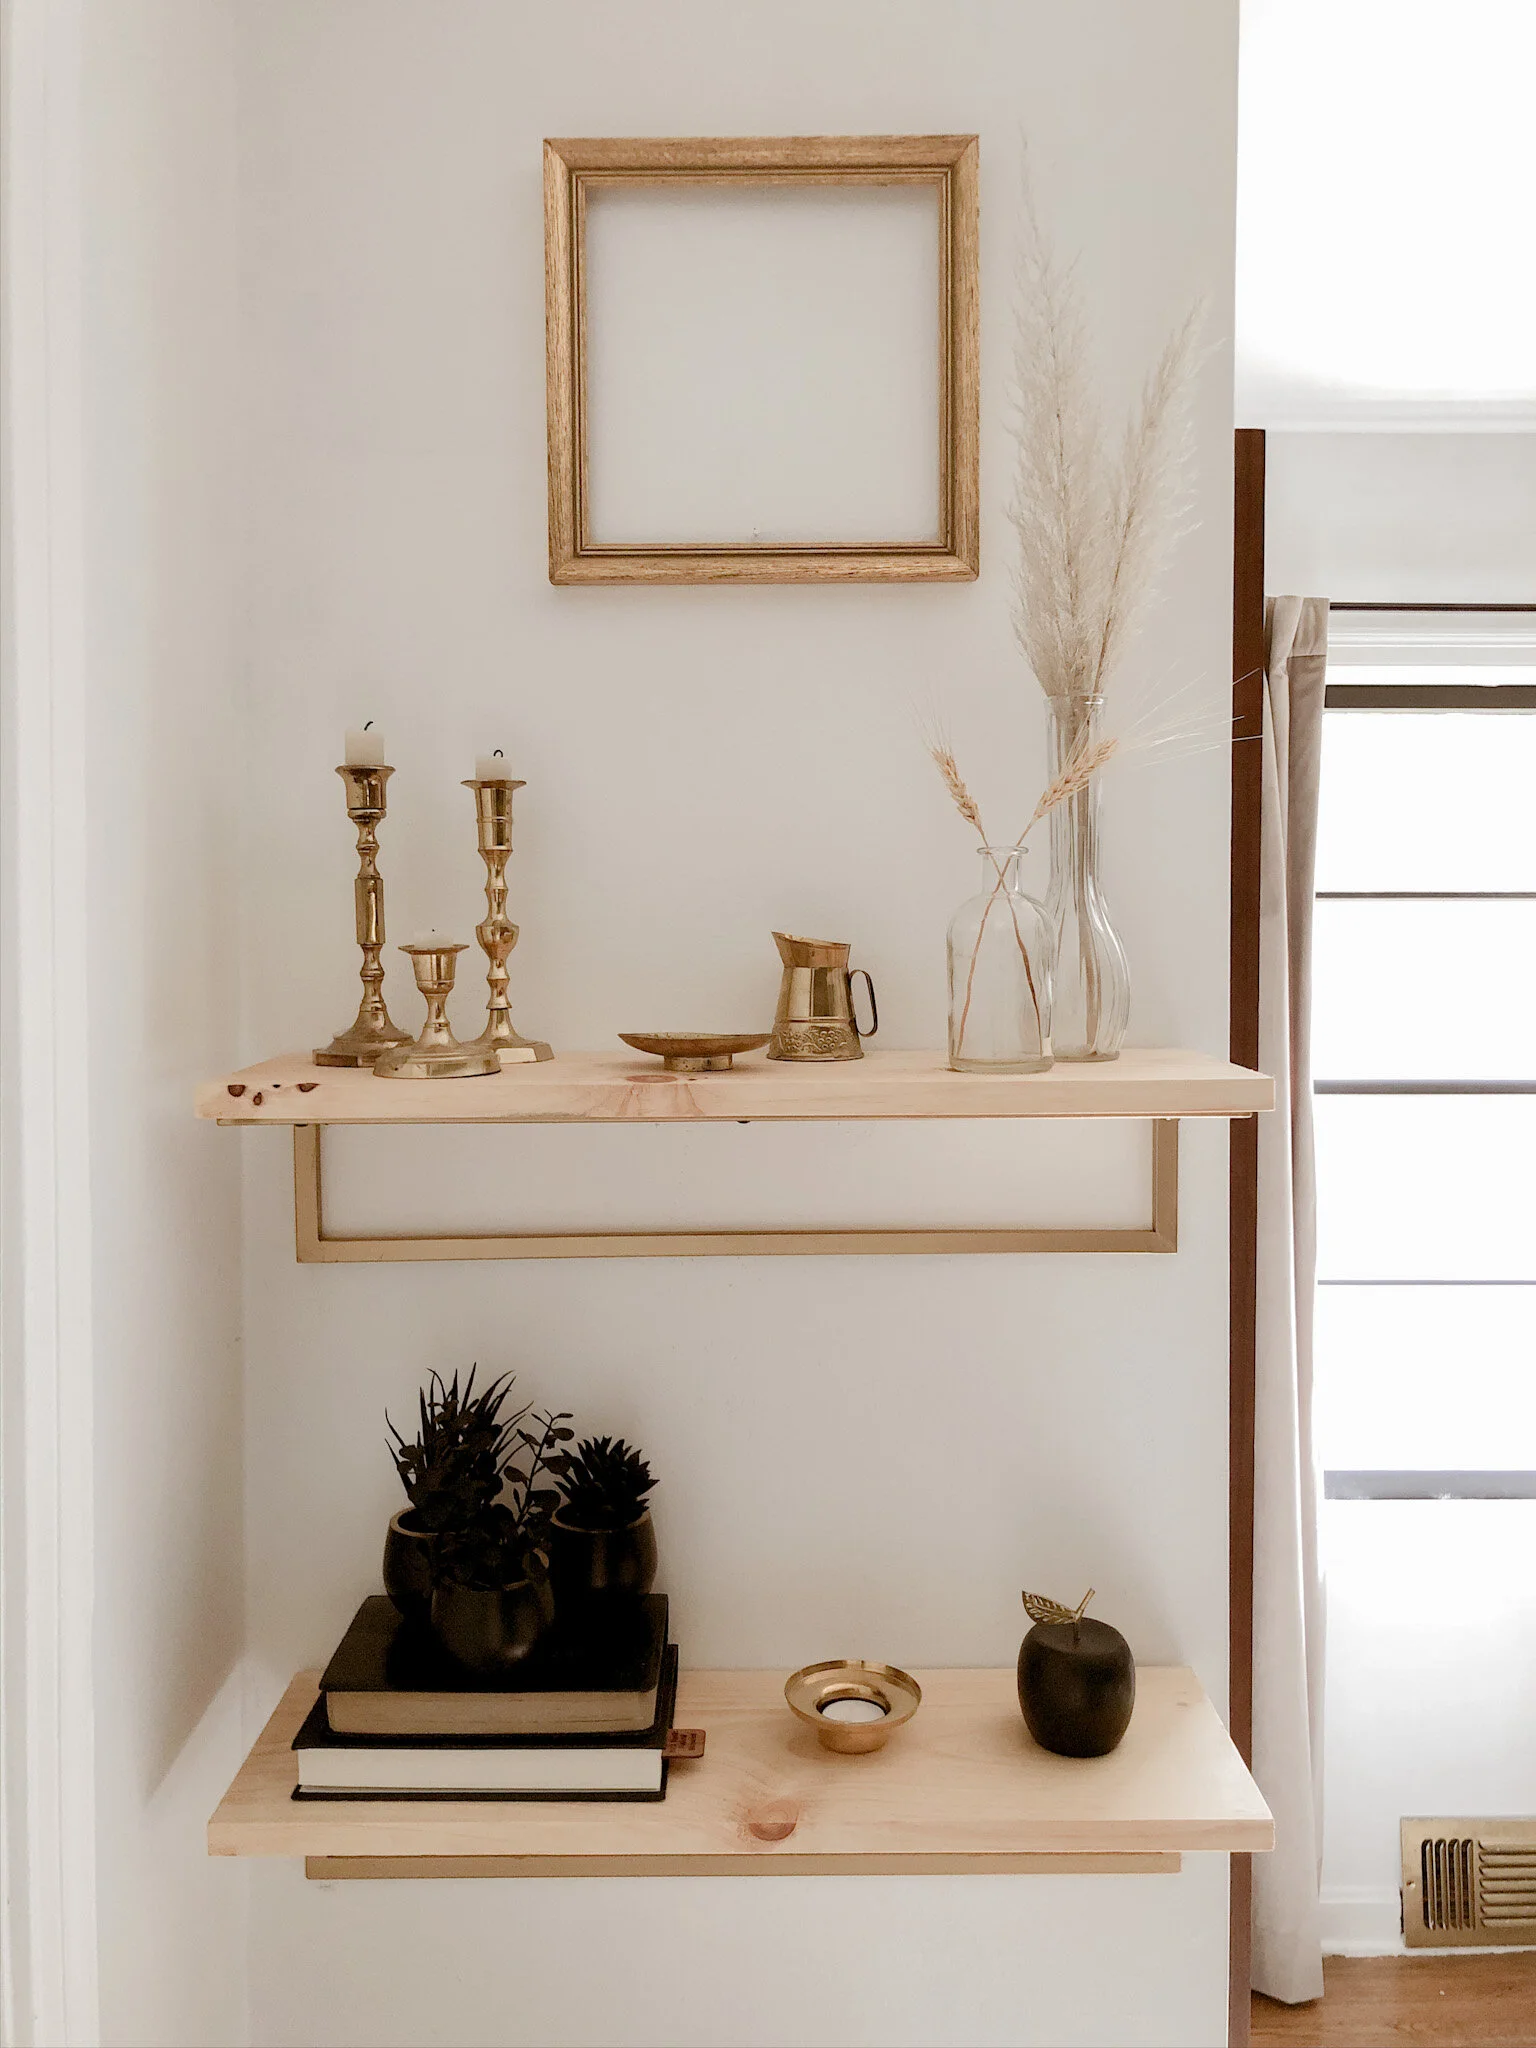
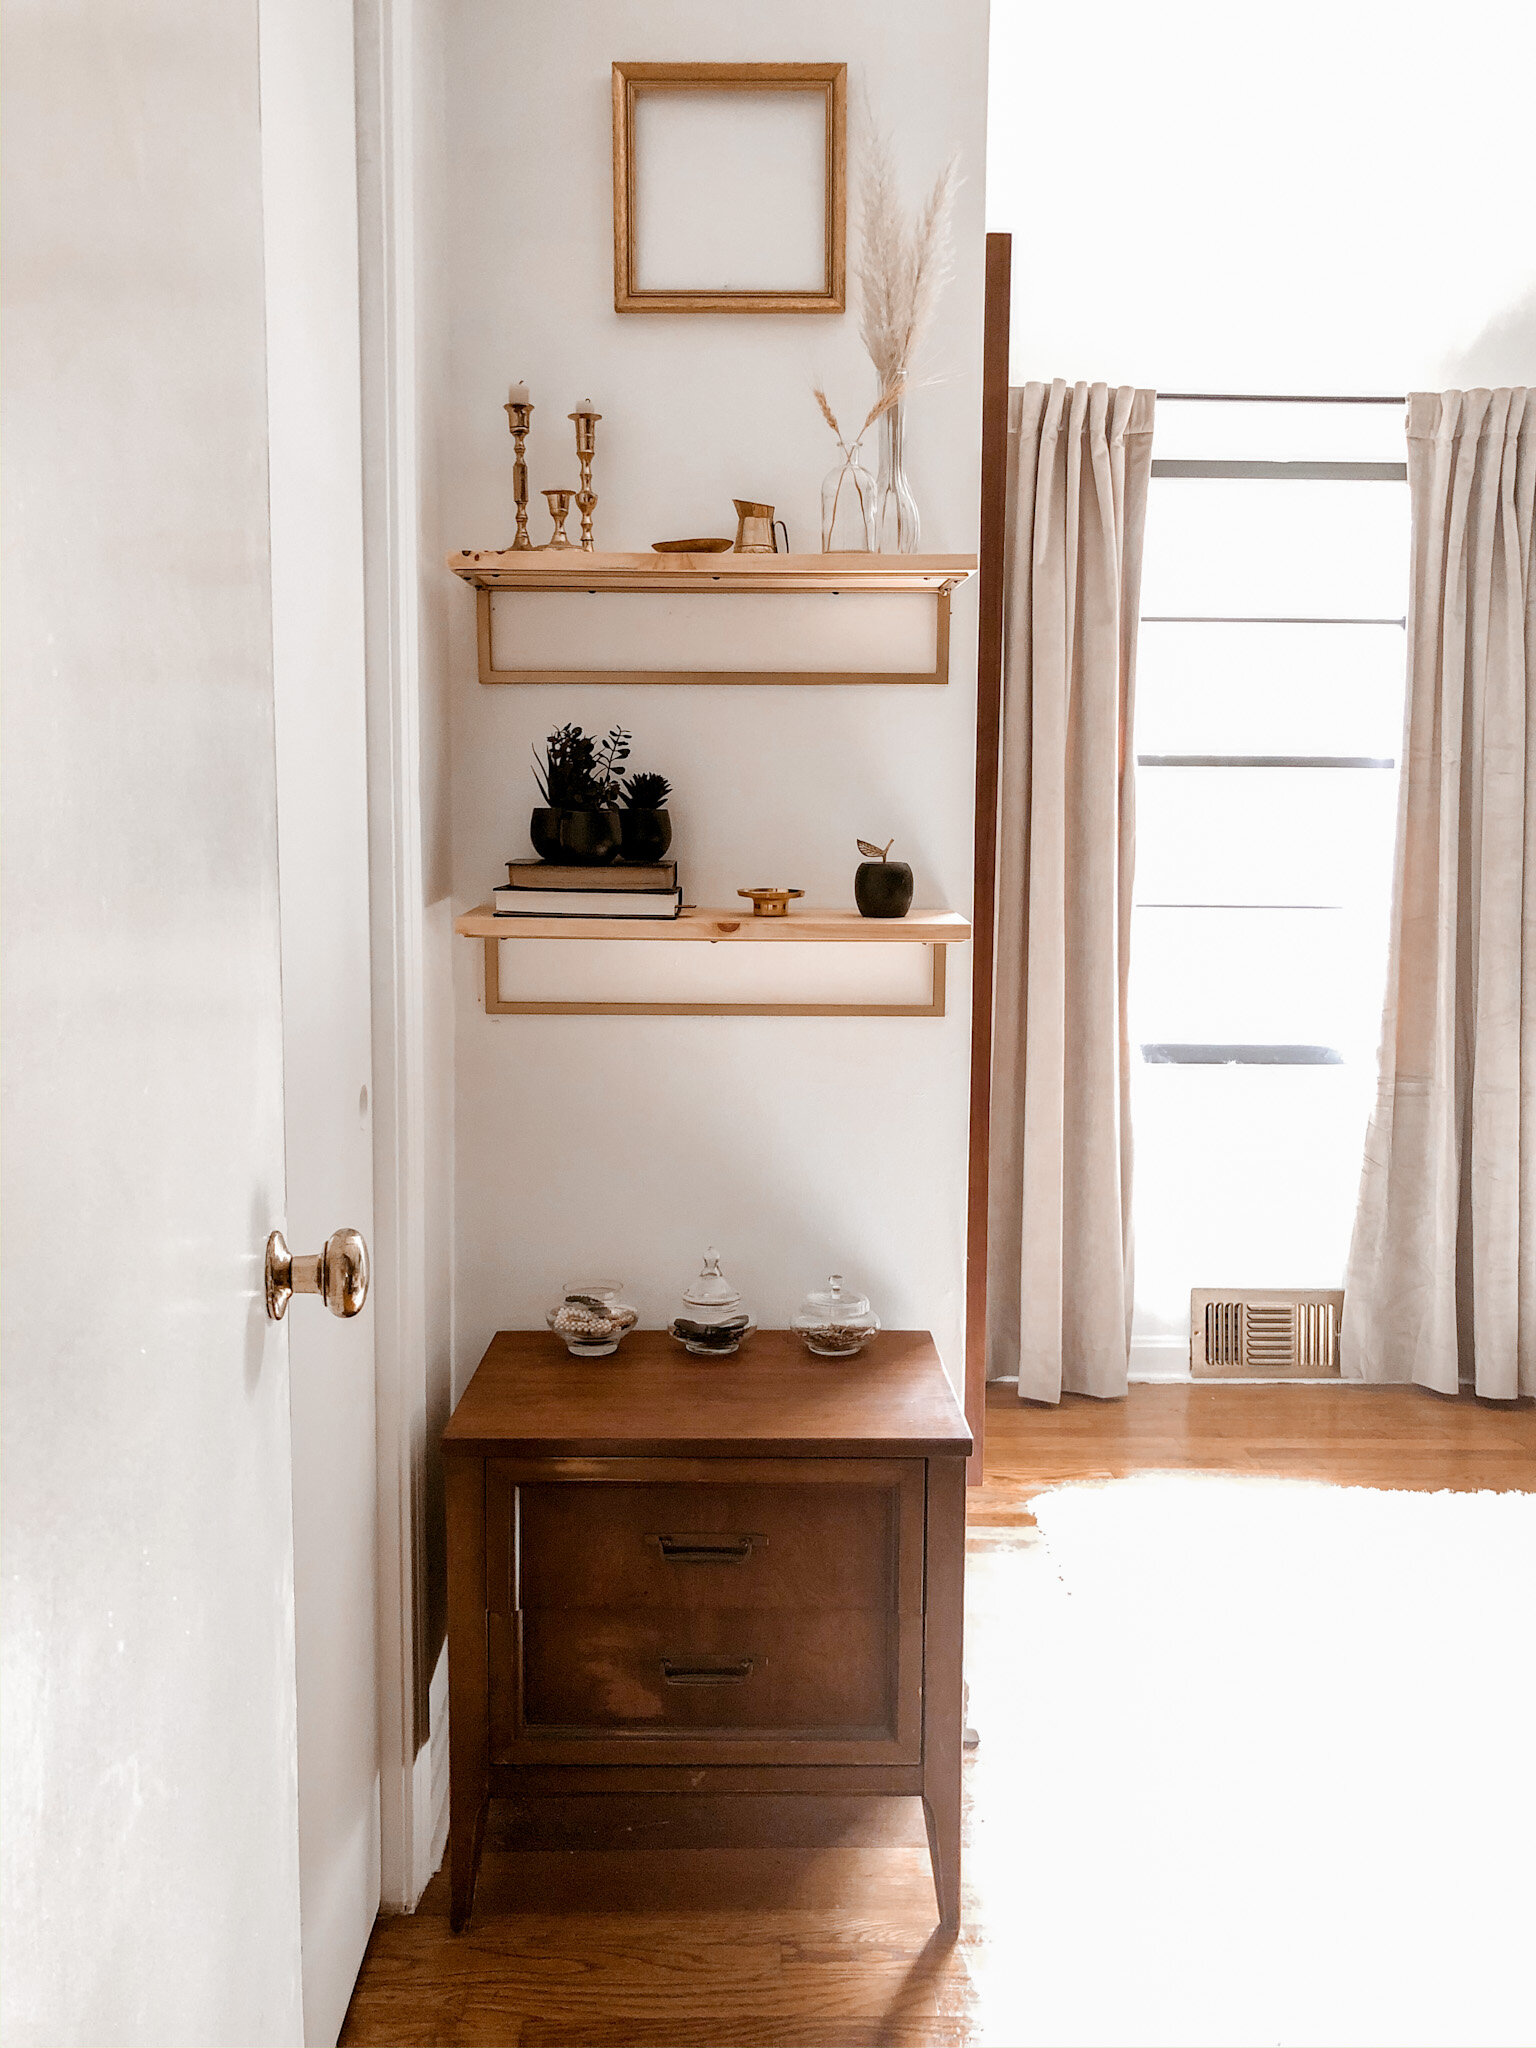
Styling Shelves : Principles of storytelling through visual display
Styling vignettes is my absolute favorite thing to do! It’s such a wonderful form of storytelling, and I use vignette-styling to share bits and pieces of myself with my friends and family that come by to our home to visit. They are truly a good way to get to know me, and that is precisely how to use vignettes, as an invitation to share yourself with your loved ones.

Styling vignettes is my absolute favorite thing to do! It’s such a wonderful form of storytelling, and I use vignette-styling to share bits and pieces of myself with my friends and family that come by our home to visit. They are truly a good way to get to know me, and that is precisely how to use vignettes, as an invitation to share yourself with your loved ones.
I love visiting my friend’s homes and learning about them through the way they have laid out little clues (vignettes) throughout their home. So I would love to share the principles I use to create these sweet spaces!
Principle 1: Vertical Horizontal
Vertical: Styling top to bottom on rows of color Horizontal: Left to right in rows of color
Principle 2: Pyramiding
Using a focal point bringing the eyes to the middle and focusing in on a product. In this case, I’ve used a wreath to bring your eyes to the center of the shelf display. However, this can be applied to feature walls, tables, and shelfs.
Principle 3: Stacking
Stacking is just that - using more items and staking them on one another. I applied this principle by stacking the bell, and three Christmas trees on the book.
Principle 4: Symmetry & Balance
For me, this makes a space comfy and easier for my house guests to experience and navigate through each vignette I’ve laid out. Makes people feel good and not overwhelmed.
Principle 5: Consistency & Repetition
This principle reiterates (like the three Christmas trees and two reindeer for example).
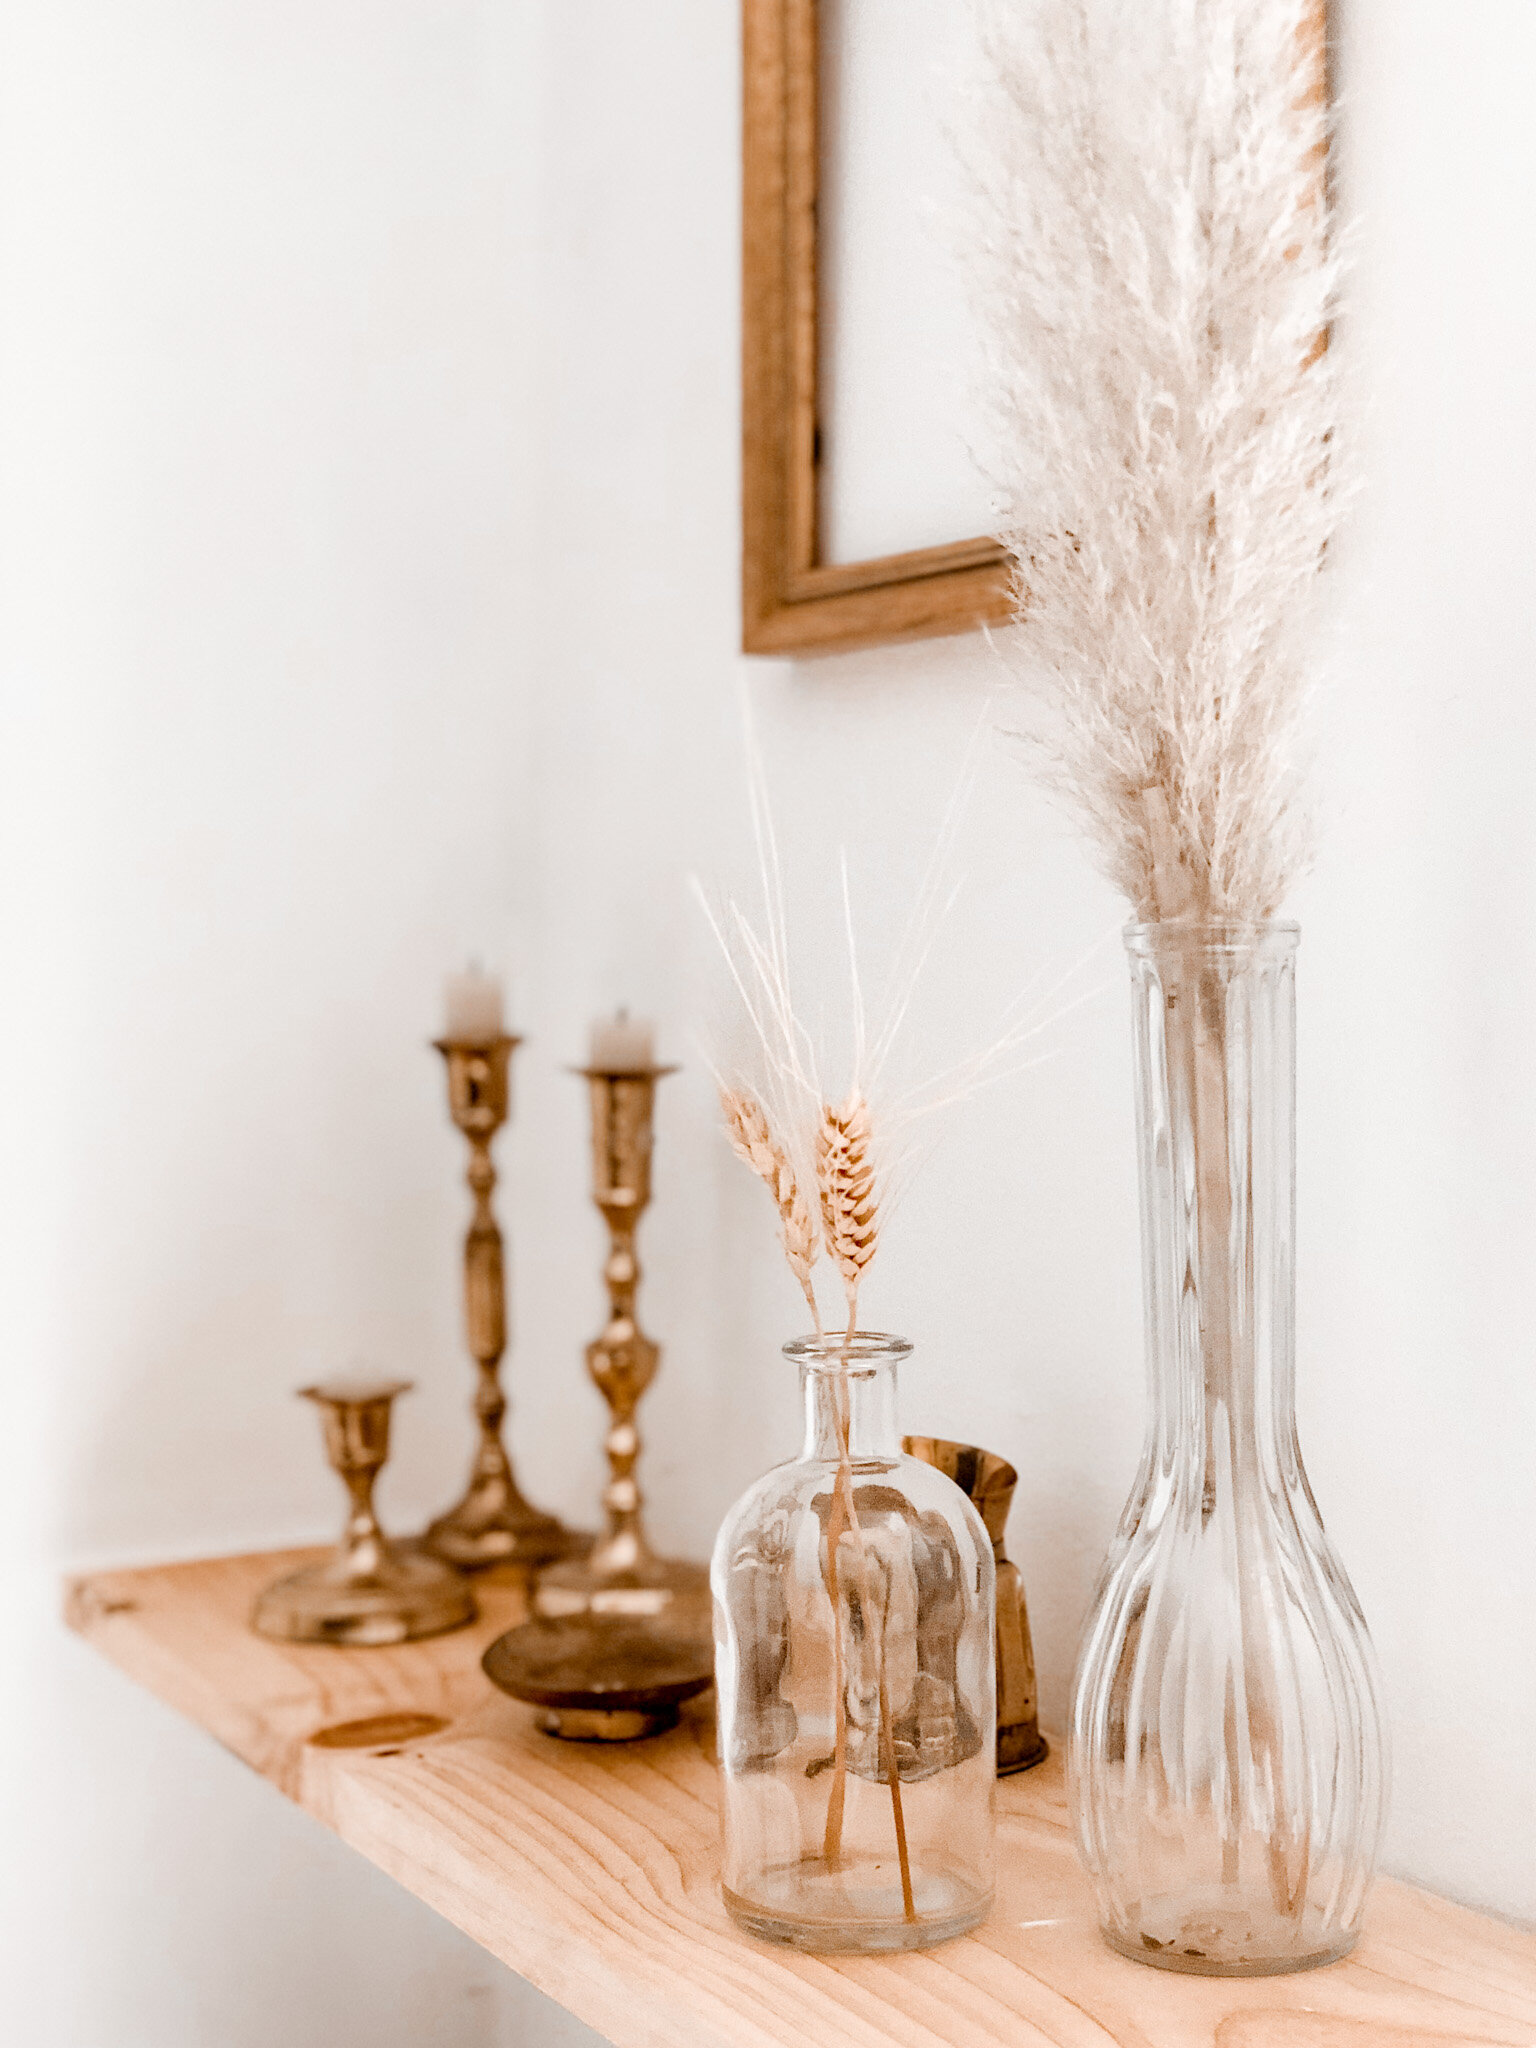
Principle 6: Color Balancing
Visually, balancing the color throughout my entire home and vignettes are extremely important. Colors tell a story just as much as the actual item you’re using to create the vignette. It’s best to keep the colors cohesive when styling. I used a palette of matched tones (brown, black, gold, and forrest green). Be sure to balance the colors well and by being mindful of their placement and spacing - use color variations to achieve the right feeling.
Principle 7: Storytelling
To reiterate, I use visual display to incite imagination and allow my guests to get to know me. A good vignette concept will give your house-visitors inspiration and help them get to know your character. I used this shelf display to convey a Christmas theme, and to share the things I love most about Christmas.